 Although you might like to have an even frame make of straight ribbons, sometimes, you might want something a little less "clean", and if you worked with sticky tape, scotch tape, washi tape and such, you know that you MIGHT, occasionally have some unevenness to them.
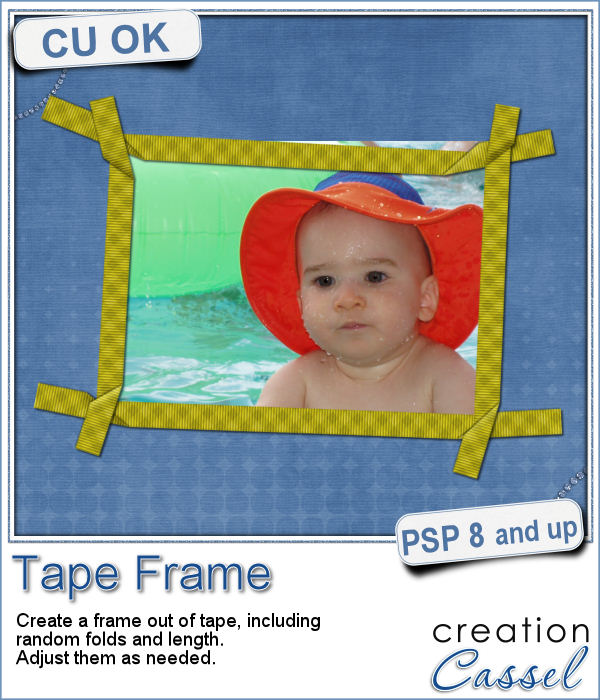
This script will use with any straight "tape" and will create an uneven frame based on the dimension of the photo you want to frame.
Each length of tape will be randomly measured, and the folds will also be random. This allows you to run the same script and generate completely different frames every time. Furthermore, you end up with unmerged pieces so you can easily reuse them later.
Get this script in the store: Tape Frame
In order to win this script, add a comment on this Facebook post (remember, add a comment, not just a Like!) The winner will be announced in the newsletter, next week. Not a subscriber yet? Not a problem. You can register here and it is free (and you only get one email per week).
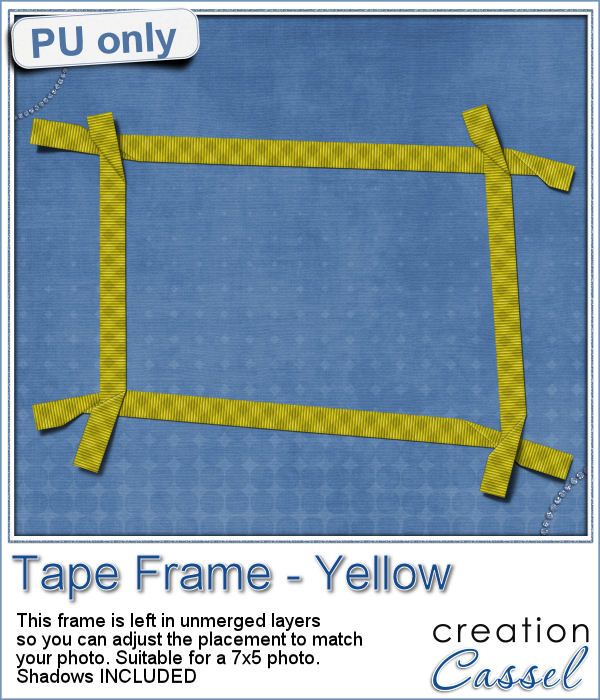 To let you "play" with this frame, i created another one using the same tape as in the initial preview. I tweaked the shadows on the ends and included those shadows in the download. Each piece of tape is left on a separate layer (with its own shadow) so you can adjust the size of the frame. It has been made for a 7x5 photo, but if you want to use it on a smaller picture, you can just move the pieces inward.
You need to be logged in to download this sample. You can either login, or register on the top of this page.