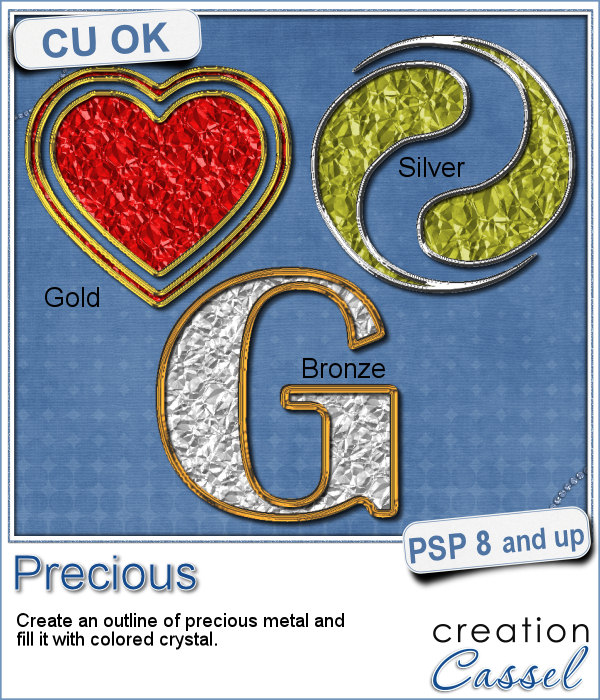
If you are creating kits, you will want to use this script to create a variety of labels in just a few seconds. Keep the ones that you like, and discard the others.
If you are just using a ready made kit, you can create a few labels based on the papers of your project. Pick the one or two that you prefer and you will get a perfect match.
You can choose any paper, any size, any shape, and have any color in the center. The script will create a variety of labels with random combinations of the different options you will have picked.
You can get this script in the store: Custom Kit Labels
What would be your favorite shape for labels? would you prefer to have circles, squares, rectangles, ellipses or something else? Tell me in the comments below for a chance to win this script. The winner will be announced in the newsletter, next week. Not a subscriber yet? Not a problem. You can register here and it is free (and you only get one email per week).
As a sampler, I ran the script using 5 papers from the kit Enchanted Autumn from Marisa Lerin. This set includes 15 different labels, ranging in size between 600 and 1000 pixels. Some are round, some are oval, some are square and some are rectangular.
You need to be logged in to download this sample. You can either login, or register on the top of this page.

Have you ever wished to see your name in big neon letters on a marquis? Now, you can get exactly what you wished for.
As a sampler, this week, I created a few elements on the Halloween theme. I just found some shapes, and chose to create a simple outline.
Have you ever wanted to create a wordart with half of the text in negative from the rest? It is not too hard to do manually, but it requires accuracy. And then, if you want to create a series, it is longer.
How about a way to date your layouts? Whether you are making a Project Life album, or you just want a fun way to identify when those pictures were taken, here are some split months. Each one is about 420 pixels in height, and the width will depend on the text.
Who has too many doilies? In the last few weeks, you got scripts to help you create circular and square doilies, but with a bit of math, I managed to code a script to allow for doilies that have different sizes in height and length. That is really adding another level of flexibility for your projects.
This week, i made three rectangular doilies, and i am offering them to you. They are all in png format so you can use them with other programs than Paintshop Pro. You can also colorize them if you want. The shadows are only for the preview. There is a slight bevel only.
The last script that was made available to you was to help you create round laser cut doilies, but what if you want them square? With a bit of coding, I am bringing this to you. It will use a similar process to create the rounded corners, but you will also have the option to modify the design for the straight edges, either by adding more cutouts or removing some. This will allow you to have some unique designs along the straight edges, if you want.
Just like last week, i had fun creating those samples. I experimented with various designs and although a few didn't turn out too great, most of them were really pretty. That is why i am offering them to you.
Laser cut doilies are delicate paper products that offer a great variety of designs and patterns. However, in the digital world, the number of such designs is limited.
As a sample of what this script can do, I am offering you a set of 6 doilies that i created while testing this script. I have to say that this IS addictive.
Triangle patterns are basic designs that are timeless. Change the size and the colors, add outlines or not and you can get a wide array of different seamless patterns.
As a way for you to have fun with the end result of this script, i generated a set of 15 tiles with fall colors from a palette of 5 colors. Use those tiles as is as flood fill pattern, or you can also change the proportion of the tiles to get different types of designs.
It is the time of the year when just about every school age kid is finally back to school. How about displaying your favorite photos as flashcards, as if you were teaching the viewers? Although it could be used in a school themed project, it can also just serve as a fun frame for any picture.
As a sample, i created 6 inspirational cards for you. Each card has an empty area for the photo (what is showing in black on the preview) so you can add your own image.
This script will be fun for anyone who has a cooking theme project: now you can write and draw with flour. Well, not real flour but you can turn your design into flower looking elements.
As a sampler, this week, I created a complete alphabet for you. It includes all the 26 letters, and some punctuation elements.
When you have a whole album, how many photos would you need? If you want to use layered templates to complete your project faster, you still might have to add dozens of photos. How long would it take you to open each of those photos, copy them, paste them on the template, in the correct layer, resize them, center them in the correct location, crop or trim them and save the layout when all the images are added? Just listing those steps in here, i am out of breath!
As a little sampler today, I created a couple of strip clusters using the Strip Cluster script. I used Southern Creek Design's kit, Spring Thing for that.