Are you always looking for original ways to add a date or other elements like a name or a location or even a special sentiment? This datestamp will be perfect for that unique look.
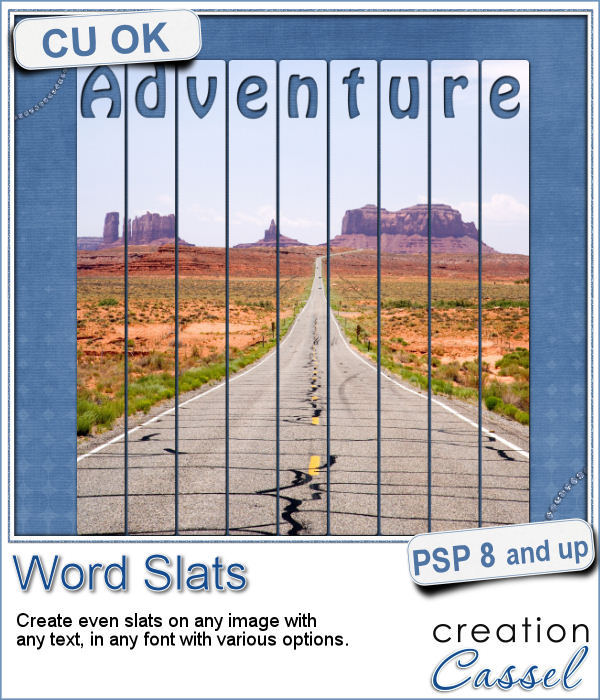
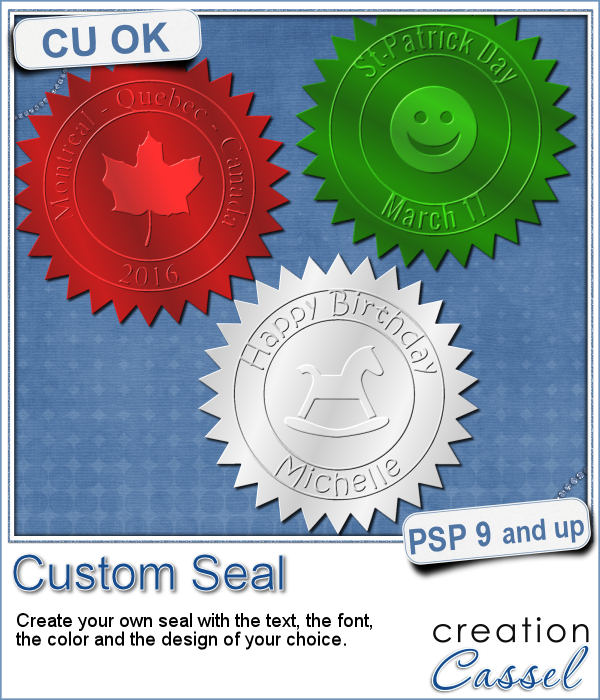
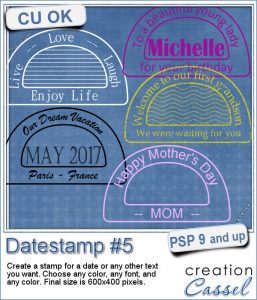
You can choose any color, any font, and any text. Since everything is left in unmerged layers, you can even change the colors of some elements, or add various designs in the center.
A great addition to all the other datestamp scripts available in the store.
Get this Datestamp #5
In order to win this set of tubes, add a comment on this Facebook post telling us what you would write using this script (remember, add a comment, not just a Like!) The winner will be announced in the newsletter, next week. Not a subscriber yet? Not a problem. You can register here and it is free (and you only get one email per week).
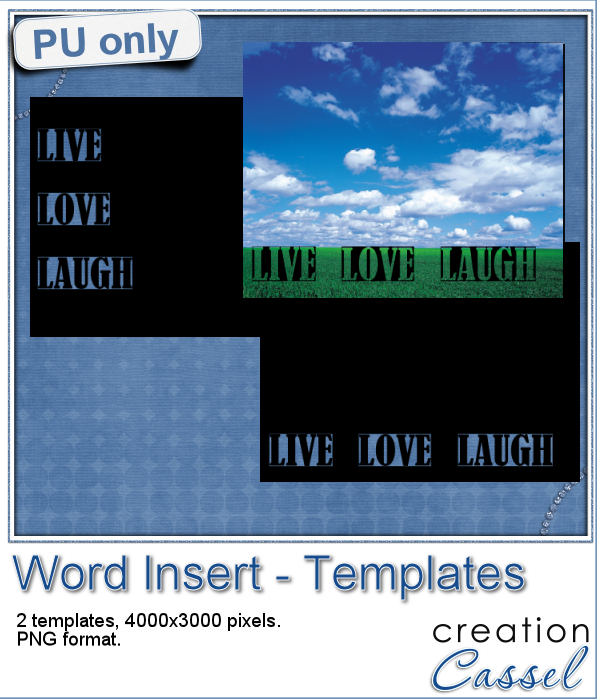
As a sampler, i created 7 simple datestamps, each with a day of the week. It is up to you if you want to add a date in the center, or a photo, or anything else.
Although they are all in black, you can easily color them using this technique.
Each one is 600x400 pixels and in PNG format.
You need to be logged in to download this sample. You can either login, or register on the top of this page.

This script will let you write name, titles, quotes or dates as if you were playing slot machines. It could also resemble those clock displays that rotate. Whatever effect you want to get, you can create it with this script.
As a sampler, I created 4 displays with the years 2015-2018. It might be a great way to date your layouts that you made in the last few years, or to date what you dream to accomplish next year.
Do you like to use ribbons in your projects? Straight ribbons are easy to find, right? Not always. In fact, it is possible to get some greyscale ribbons and colorize them to match your project, but some colors are quite hard to get right (like the yellows). In addition, the ribbons you get would always be the exact same kind, with the same size, same shape, same light/dark areas, etc.
I went a little crazy with the freebie, this week. I found a fun color palette that seemed nice for a spring theme (sorry for our Aussie friends who are heading toward winter, but spring will be back in 6 months!).
Using slats to showcase a photo makes for a fun and unique effect. However, creating slats manually is tedious, especially if you want them even or following a particular outline.
As a way for you to play around with slats (in case you never tried before), I made a large template (about 3000 pixels wide). It is in png format so you can probably use it in most graphic programs.
Do you want to add a fun edge around your element? Brushes might be one option but you can't combine brush strokes. However, with a font, you can alternate characters as you want to create unique designs.
Do you want a closer look at these edges? I created 2 mats edged with some characters from this font. One is a rounded square and one is a circle. You can colorize those mats, or if you lock the transparency, you can "paint" on them, even with a paper!
If you like jewelry, you will love this script to create gold or silver elements.
As a free sample, I created some "tags" illustrating some common life events (first day of school, first car, graduation, new baby, new house, trip/retirement) that you can use for your various projects.
Slats are a fun way to display images as if we had multiple frames, but if you want to add a word or phrase, it makes for an even more custom display.
As a free sample, i converted the slats used in the preview into a template. You can use it for your own photo. Make it sideways if you prefer. Cut the slats if you have a wider image that is not as high. Be creative!
Do you like the look of a nice "official" seal to put on your project but can't find one in the color you want? Or would you like to find one that has the name of your child, or the name of the city you visited, or the specific date of your last vacation?
Since February is coming, and so is Valentine Day, I decided to create a few seals that you could use either on scrapbook pages about your loved one or on custom card or design you might create for him/her.
If you have used the Word Cutout script, you know that it would only use the edge of the photo. However, sometimes, the edge holds some meaningful parts of the image and you would like to cut the words out of another location.
Using a black image, 4000x3000 pixels, i ran the script 3 times to add the individual words of "Live", "Love" and "Laugh". To make them even, i used guides before running the script, so my selections were always the same height. Neat trick!
Although it might be easy to create a simple puzzle with 20 or 30 pieces, it is a whole different story when you want to have hundreds of pieces.
Since this script is to be applied to your own photo, i thought i could create a little something using last week's script, the Painted Cardboard.