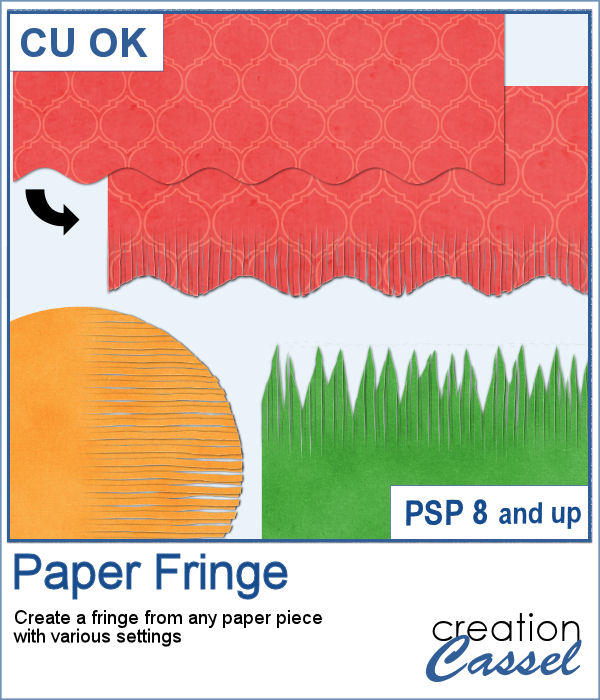
 In order to create a paper fringe with PaintShop Pro, you will need to cut your element multiple times, and then, warp each piece one by one. But there is a problem: how do you warp one piece of paper without warping the next one? Well, there is a way to do it, but it is tedious, which is why this script will be a time saver.
With various options in the orientation, length, width, and regularity of the slits, there is also randomness integrated into the script to allow for a different result every time you run it, even if using the same settings and the same starting image.
Get it in the store: Paper Fringe
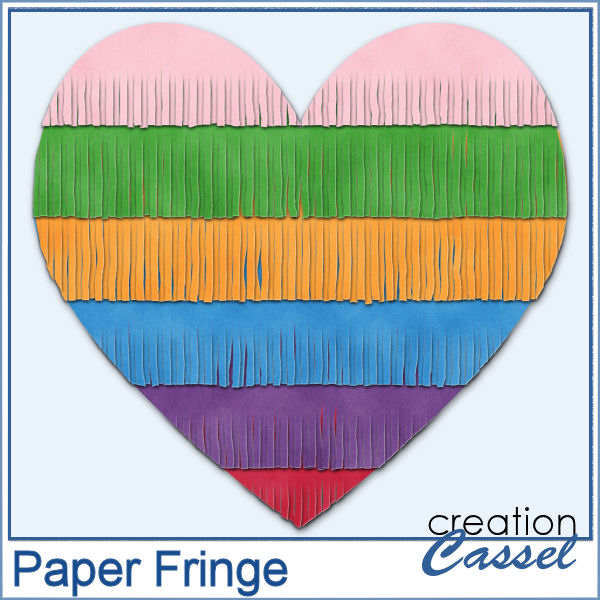
And see what you can do when you repeat the script using multiple strips of colored papers.

In order to win these tubes, add a comment on this Facebook post telling us if you have ever created paper fringes with paper and scissors (remember, add a comment, not just a Like!) The winner will be announced in the newsletter, next week. Not a subscriber yet? Not a problem. You can register here and it is free (and you only get one email per week).
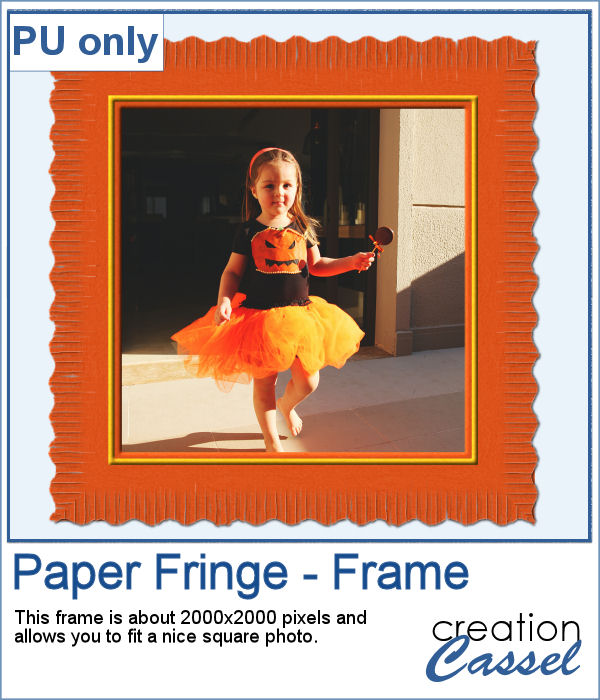
 As a sample, I created this square frame from four strips of paper that were run through the script, one by one, and then put together to make the frame. I added a little contrasting border to add some interest. Now, you can showcase your favorite photo.
You need to be logged in to download this sample. You can either login, or register on the top of this page.

