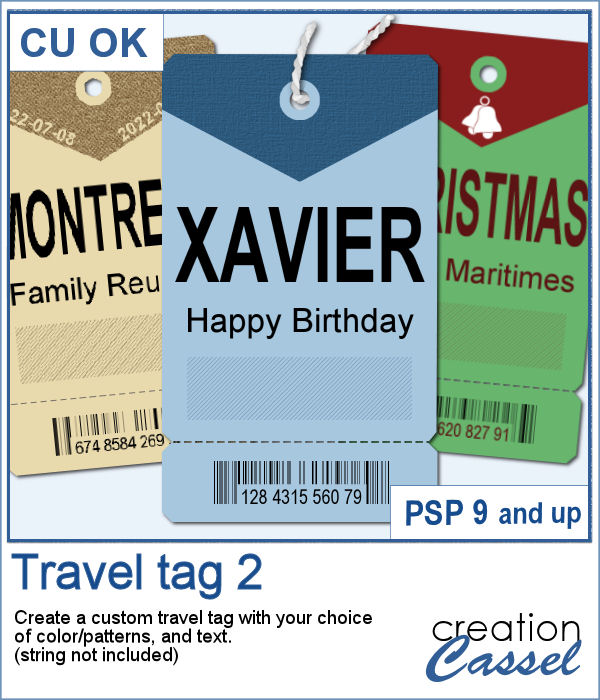
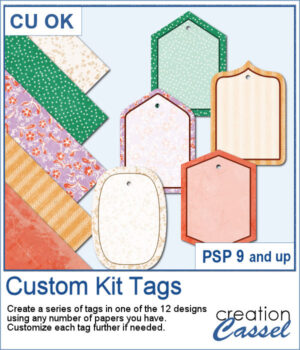
 If you want some variety in tags but you want them to match the kit you are creating or using, this script will give you plenty of them. You can create up to 25 tags to choose from. Each tag will be created based on any papers you open.
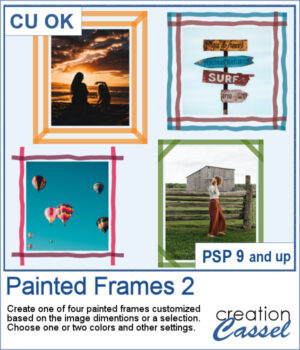
The end result is on unmerged layers so you can tweak each of them further. You can change the color of the outline, add a grungy texture, add text, trim sections of the overlay, adjust its opacity, or even change its default color.
Get this script in the store: Custom Kit Tags
In order to win these punches, add a comment on this Facebook post telling us what you typically write on tags (remember, add a comment, not just a Like!) The winner will be announced in the newsletter, next week. Not a subscriber yet? Not a problem. You can register here and it is free (and you only get one email per week).
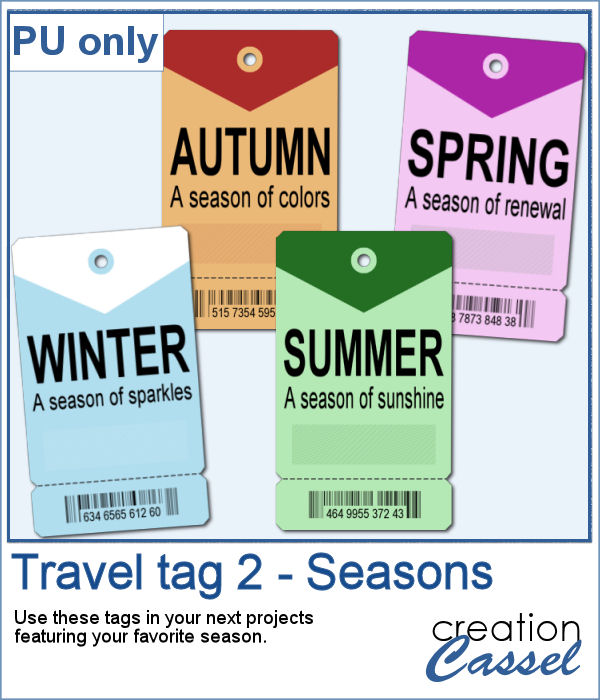
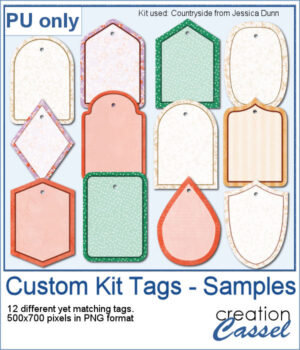 For a sample, I generated 12 different tags using papers from the mini-kit Countryside from Jessica Dunn. Each tag is 500x700 pixels in PNG format so you can use them with any program. Each tag also has a hole that you can use to thread a string, a chain, or a ribbon.
You need to be logged in to download this sample. You can either login, or register on the top of this page.