 You have often seen bronzed busts or bronzed baby shoes. Those are "luxurious" elements. You can now add the same rich look to any element for your projects.
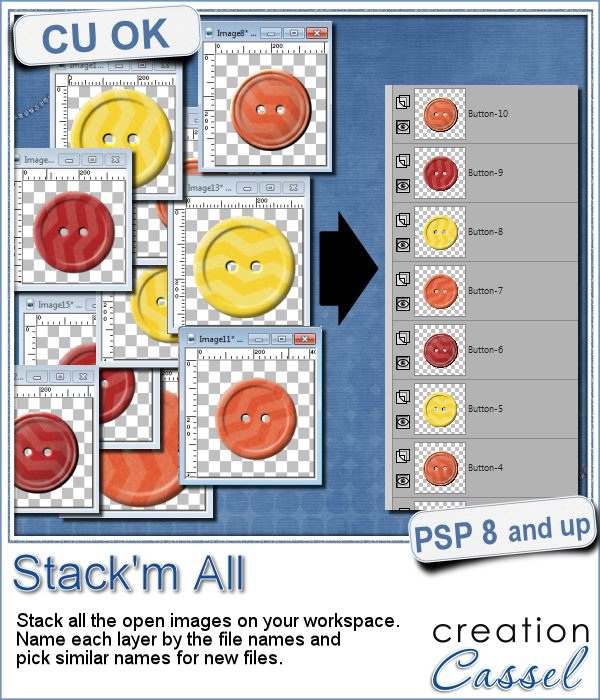
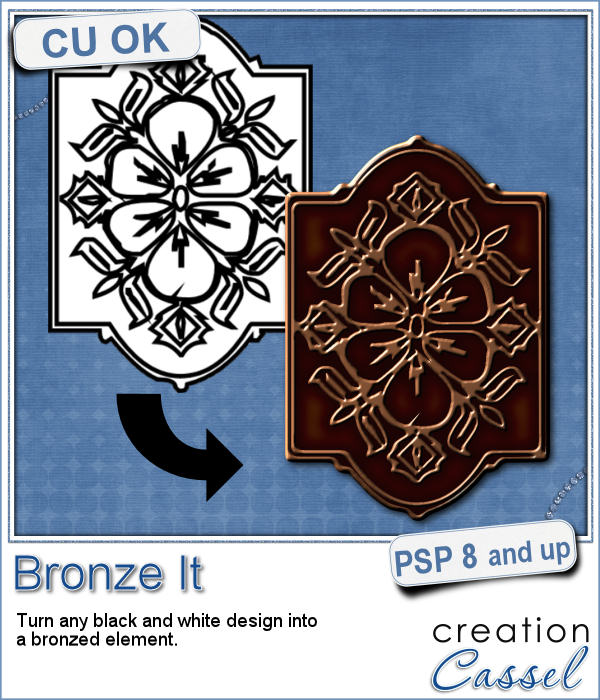
This script will turn any black and white element into a bronzed one. You can use it to create an alpha, a brad, a frame, a crest, name plate and more.
You can use any size or shape or design. Best results will be obtained with designs between 500 and 1000 pixels, but you might want a different look with different sizes.
Get this script in the store: Bronze It
Do you want this script? Add a comment on this Facebook thread. A winner will be announced in the newsletter, next week. Not a subscriber yet? Not a problem. You can register here and it is free (and you only get one email per week).
 This week, I thought of making an alphabet but i thought that the bronze texture inspired me to create elements with the 12 zodiac signs. I used a font to create those designs (you didn't think i drew them myself, did you?)
I used a vector shape for the circle then added the zodiac design on top of it. Then, i ran the script on the merged version of this (as the script can only work on ONE layer, and i wanted both the sign and the outline on a single layer).
They are in PNG format, so you can use them with almost any program.
You need to be logged in to download this sample. You can either login, or register on the top of this page.