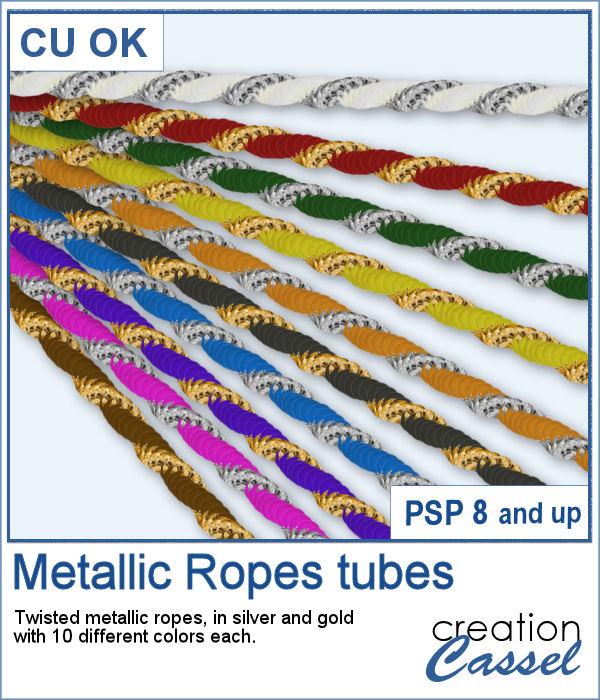
Seed beads are fun elements that can be used to add some pizzazz to a project, but adding them one by one is quite tedious if you want to have a lot of them. And if you are looking for "ready-made" sprays, they might not match the color you want, the size you want or the shape you want. But using these picture tubes, you simply have to drag your cursor where you want the beads and they will just appear.
And if you want a continuous string of beads, you can also do that by using the directional version of one of those 6 colors.
Get them in the store: Seed Beads 3
In order to win this script, add a comment on this Facebook post telling us whether you would more likely use the random tubes or the directional ones (remember, add a comment, not just a Like!) The winner will be announced in the newsletter, next week. Not a subscriber yet? Not a problem. You can register here and it is free (and you only get one email per week).
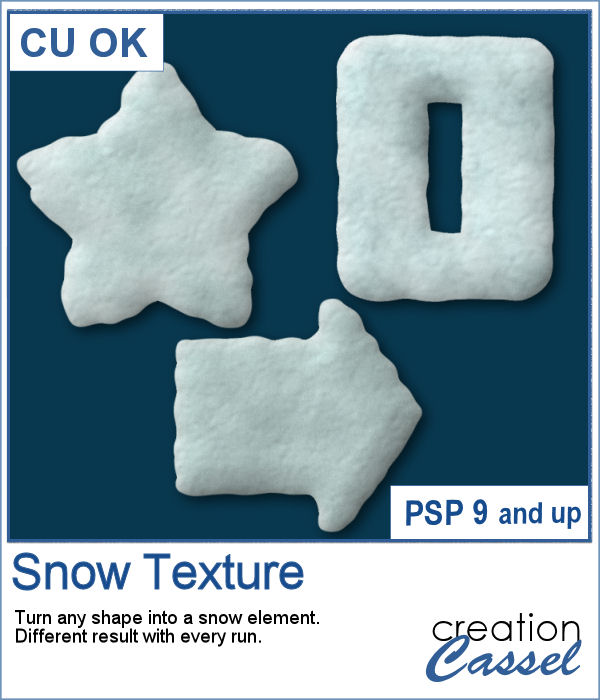
Since it is Mother's Day (in North America) this coming Sunday, I created these two gold and silver charms for a special mother in your life. I created in two different spellings to accommodate different ways people call that special woman. The charms are about 1500 pixels, so they can be sized down as needed to fit your project.
You need to be logged in to download this sample. You can either login, or register on the top of this page.

With Easter coming, you might want to create some holiday invitations or maybe you will want to embellish the photos you will take with the kids running around, looking for eggs.
To help you out, I created a dozen eggs that you can use to build some clusters or to line them up at the bottom of your next frame. Using bold colors, those eggs should go well with just about any Easter projects.
You can now add a rainbow to any of your photos by using these picture tubes. Place those tubes along a vector circle and you can create many different rainbows, in different size and types. Use the VectorTube script to follow those paths, or draw your rainbows freehand.
As a sampler, I created a 3000 pixels double rainbow. You can use only an arc, either from the left or the right and add it to your photo. You can resize it as needed.
Here is another way to display some text or a date on your photo. You can create a variety of frames with a lot of options to pick from. Add any text in any font in any color, and place it on any corner.
As a sample, I created a series of four frames for the various seasons in the color of those seasons. Use them to create a year in review or just to showcase your favorite photos.
I have seen various masks made from apparent chaos of random frames while allowing the display of a single photo through all those frames. I knew how to create those manually, but figured it would be simpler for PSP users to have a tool to do all the work for them.
As a sample, I am giving you the same template created in the preview. It has unmerged layers so you can add shadows on the frames if you want, you can merge them all before adding shadows or add them individually. You can also change the frame colors, add a bevel, or tweak them as you wish.
Now, you can create as many heart-shaped candies as you want, in any color you want. And they will also have random saying on them. With additional random features integrated into the code, each candy will likely be slightly different from each other.
As a sample, I simply am offering those candies created for the preview. You get twelve fun candies, about 300 pixels wide to use for this coming Valentine's Day project.
Some cameras will automatically add a date on your photo and often, you might want to remove those dates to concentrate on the photo itself. However, in other situations, adding a date might be needed. If your camera took the photo while saving the EXIF information, this script will retrieve that date and add it on your photo. You get to choose whether you want the date on the left or the right of the photo and in which color.
As a sampler, I decided to play with a recent script, the Wooden Puzzle 2, to make you a Valentine theme puzzle. This is a .pspimage (so the file is fairly big) and each element is part of a group, so you can copy and paste it onto any other project, and since all the layers are unmerged, you can move the pieces around as you wish.
Who can say they have too many bows and ribbons? Not a scrapbooker! This script will let you tie a straight ribbon into a multi-loop bow, attached with a centerpiece. Each piece is left unmerged so you can tweak them separately if needed.
For a sampler, this week, I used a starting ribbon from Janet Scott at Pixel Scrapper and modified it slightly (to make it straighter) and ran the script for the basic bow. Then, playing with the Hue map to change the colors from the base ribbon, I created 3 additional versions to run the script again. That will give you those 4 bows to use.
You can easily use a rusty texture image to add rust to your elements or shape, but rust is not always the same, right? So you would need to have many different images to have different types of rust.
It is a festive time, and sweets are everywhere. How about creating some delicious licorice to decorate your cakes, cookies or scrapbook pages? Although we are used to seeing traditional green, red or black licorice, with the magic of PaintShop Pro, you now have 12 different colors, and even more, if you want to adjust the given colors or colorize the grey one.
For the freebie, this week, I created another alphabet using 5 of the licorice tubes. This alphabet also includes 10 digits so you can include some dates.