Natively, you cannot view your brushes from Paintshop Pro when you look in Windows Explorer, so if you want to see what you have on hand, you have to go through PSP itself, and pull down the list of brushes from the Brush tool settings.
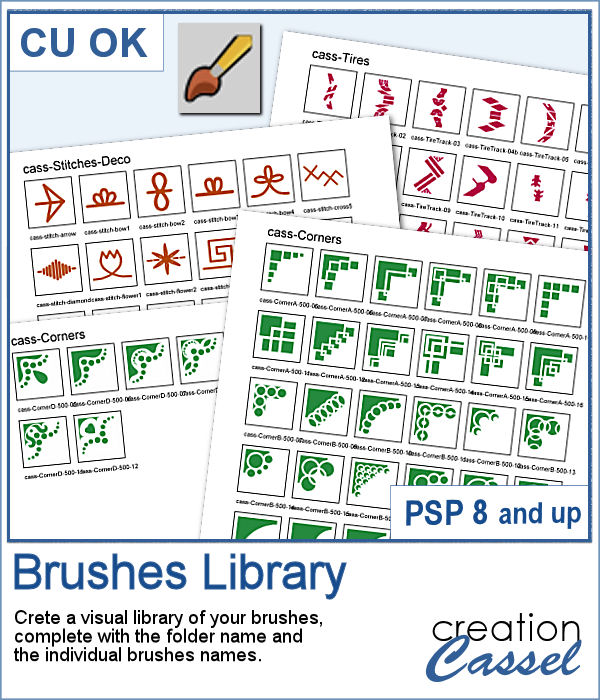
Now, with this script, you can get a visual representation that you can keep in jpg format, or print out to keep in a binder.
This script will include the name of the folder, and all the brushes inside that one folder where resides the active bruh, and will also add the name of the brushes underneath. If you need more than one page to display all the brushes, it will add as many as needed to show them all. And for the fun of it, you can choose a different color for the brushes in different folders!
Get it in the store: Brushes Library
In order to win this script, add a comment on this Facebook post telling us what is your favorite brushes to use (remember, add a comment, not just a Like!) The winner will be announced in the newsletter, next week. In addition, the color choices from the winner will be turned into a free picture tube that will be given to all the posters. Not a subscriber yet? Not a problem. You can register here and it is free (and you only get one email per week).
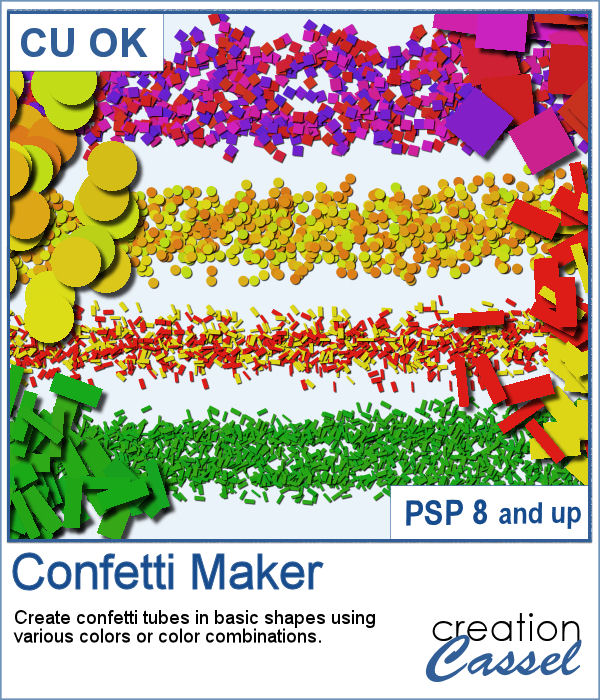
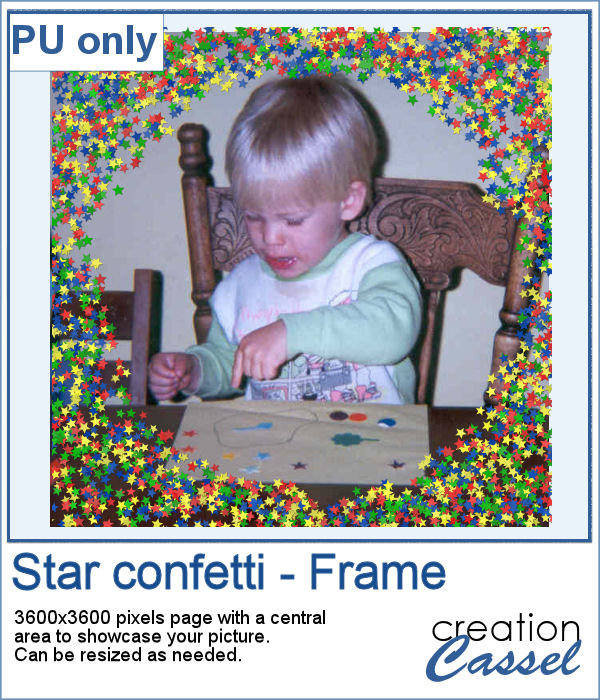
As a free sample, this week, I made a fun frame using star confetti made with basic colors. The whole frame is 3600x3600 pixels so you can use a single photo on your project. If you want to use it smaller, you can add a solid color border on the edges so you would not see the cut off confetti.
You need to be logged in to download this sample. You can either login, or register on the top of this page.

Every project can use confetti, either to add a feel of freedom or to emphasize particular colors of the featured photo. But it might be hard to find the exact colors in a ready-made confetti element. This script will really create a unique set of confetti tubes, with the exact colors you want, in addition to various other settings of your choice.
Always hoping for spring to come, I chose to use some spring-y colors and create a set of rectangular confetti. Maybe it will make spring come faster?
Delicious donuts are always tempting, and if you have any baking projects or layouts, it could be fun to have some custom pastries. This is where this script comes into play. You can create a variety of donuts based on any shape you want, and customize them with various icing flavors and additional toppings.
For a sample, I created 3 letters that can spell the word YUMMY. Each letter (Y, U, M) are made of a different flavor. They are about 2000 pixels in height so you can easily resize them to what you need.
Have you ever seen, in bakeries, bread in various shapes? Now you can create a loaf in any shape you want, using this script. You can create a simple white bread, a whole wheat bread or a rye bread.
As a sample, I created a variety of bread in the shape of simple digits. I know, you can't eat them, nor can you even smell them, but I am sure they smell wonderful!
If you liked to play with pipe cleaners when you were a kid, and loved making them into various shapes by twisting them, bending them, folding them, then you will LOVE these tubes. As tubes, you can just use your cursor and create them as long as you want, in any shape you want. You get a total of 12 different colors of pipe cleaners.
Did you get some pictures of your last Valentine Day with your valentine?
For a sample, I created a heart shape frame using a preset shape, and ran the VectorTube script to place the little hearts all along the shape. With a little shadow added, you have a fun frame. The shadow is only added to the chain, so you can add your own shadow to the whole frame if you want.
Threading your favorite ribbon manually around a frame is very tedious and hard to do precisely, but this script will allow you to do it using any straight ribbon you already have.
For a sampler, I simply am offering one layered template made with the lace ribbon in the preview. Everything is left on unmerged layers so you can use the template and modify it as you want. You can punch a whole in the center, or clip some fancy papers on it, or replace it by your favorite photo, like in the preview.
The Crochet Lace edges have been so popular in the past that I am back again with another set. These are extracted photos that needed to be edited to make them really seamless.
As a sample, I wanted to show you how the two directional lace tubes can be used to create circular elements.
You might want some rough twine rope to tie some elements or to create a loose bunch of ropes, but you can't seem to find the right one, of the right color, or the right length or the right shape? These picture tubes allow you to draw your twine as long as you want, in any shape you want and with 10 different colors (and you can also colorize them).
As a sampler, I embellished a wood frame with the yellow twine tube, to match an old bouquet of flowers. The frame is in png format and about 2000 pixels wide. You just have to slide a photo on a layer under the frame and erase whatever exceeds on the outside. The frame already has the shadows included so you don't have to add anything!
Last week, I released some new corner punches and they were a hit! But not only that, I got some inspiration from Sue, who suggested some more punches for Christmas next year. But I didn't wait until next year! I started working on those immediately.

As a sample, I created a fun frame for you using one of the corner brushes. Since the brush was not making an exact circle, I added some parts to make it into a real circle. Then, using the locked transparency, I painted all the elements separately. It is not hard, but a bit tedious. Then, I simply added some colored edges inside the frame. The whole frame is about 3200 pixels wide so you can size it down as needed.