 With the Holiday season coming, you might want to get ahead with your Christmas greeting cards, scrapbook pages, and more.
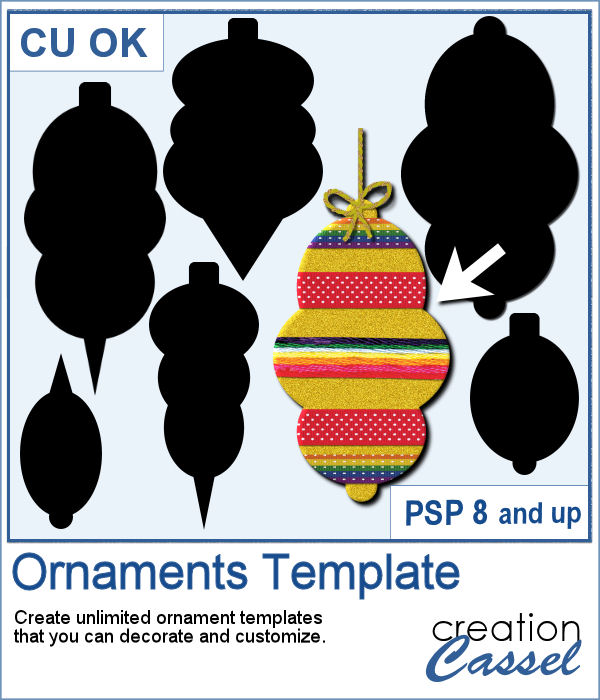
This script will create some randomly shaped templates that you can use as a base to decorate, cut out, or use any way you want. Perfect for digital and traditional projects too
Get this script in the store: Ornament Template Maker
In order to win this script, add a comment on this Facebook post telling us how you could use those templates (remember, add a comment, not just a Like!) The winner will be announced in the newsletter, next week. Not a subscriber yet? Not a problem. You can register here and it is free (and you only get one email per week).
 As samplers, I am offering you 6 fun templates that you can decorate and use in different manners. Each template is in PNG format so they can be used in most graphics programs.
You need to be logged in to download this sample. You can either login, or register on the top of this page.