Watercolor can be a great way to showcase a landscape, a location or anything else, but like any tangible medium, it could be messy.
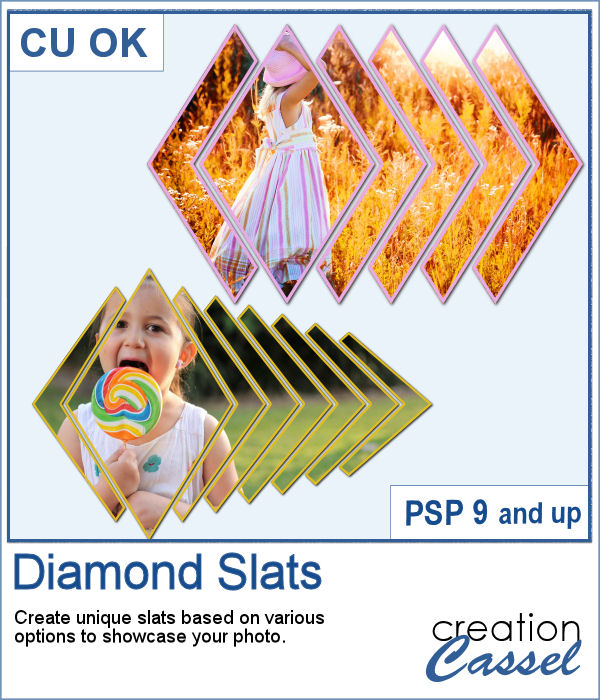
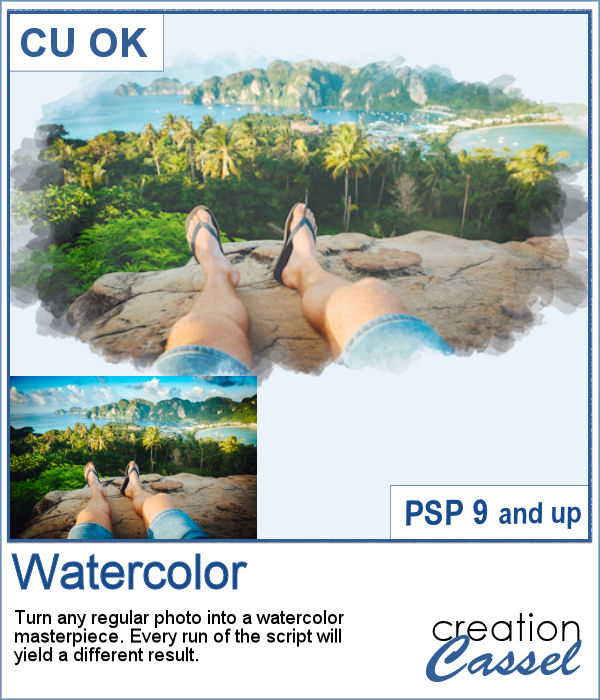
With this script, you will be able to turn any photo into a watercolor masterpiece and showcase some areas of your image while creating a unique edge of brush strokes. This is perfect to eliminate some sections of your photos without having to cut them out.
Get it in the store: Watercolor
In order to win this script, add a comment on this Facebook post telling if you have ever used a watercolor effect on a photo (remember, add a comment, not just a Like!) The winner will be announced in the newsletter, next week. Not a subscriber yet? Not a problem. You can register here and it is free (and you only get one email per week).
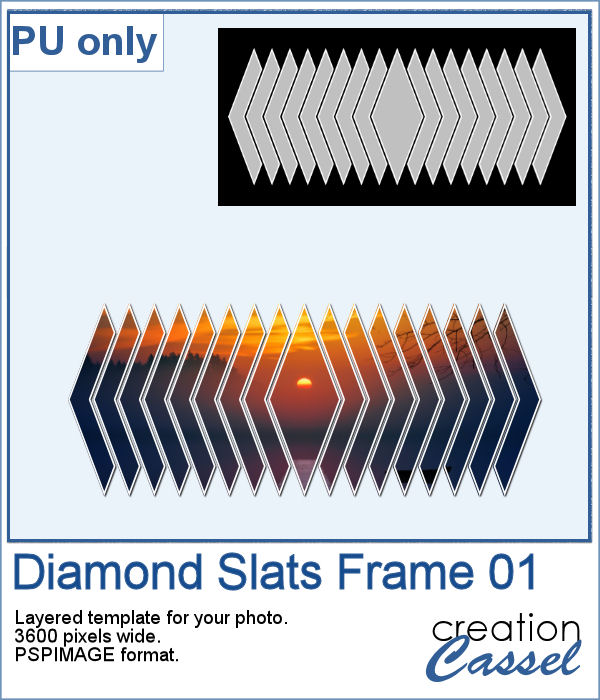
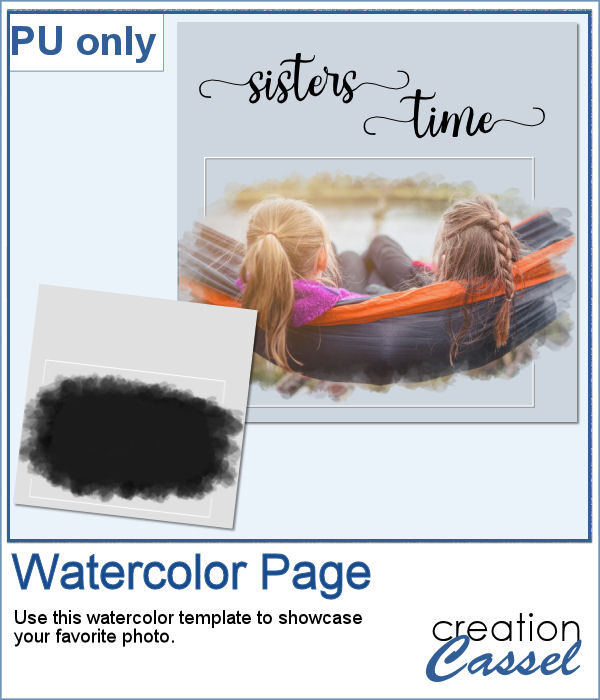
As a sample, I created a simple page that uses the same mask as on the main preview. Of course, you would have to add the watercolor effect on the image to get the colors you want but this mask will give that look on the edges without any work.
You need to be logged in to download this sample. You can either login, or register on the top of this page.

Diamond shapes will convey an impression of dynamism so using diamond-shaped slats to showcase your photos will give them a new angle.
For a sampler, I created this layered template for you to showcase your photo in the middle. The template is 3600 pixels wide and in pspimage format for PaintShop Pro users.
You can now feel like an artist and turn any photo into a colorful painted silhouette.
For a sampler, I was inspired by the painted effect and I decided to apply it to some text, a little like a graffiti artist. I picked a few words that could be used in various projects and applied the effect using 4 basic colors. There is also a spelling variation for Colorful/Colourful so everyone should be able to use it.
Have you ever tried to align several photos on a straight line, with each photo evenly spaced? It is a little tedious. Now, imagine that you have multiple rows to create. That definitely adds to the work.
For a free sample, I created a gallery template that you can use to add 7 photos of your choice. You can change the background color and even the canvas size if you want to add some text at the bottom. Embellish as you wish, or leave it minimalist. It is your choice.
Have you ever tried to create a montage of pop art images inspired by Andy Warhol? It uses bold colors and simplistic lines and offers multiple variations on the same colors.
As a freebie, obviously, there was no way to give you a sample that would suit your own project, so I figured that everyone was quite enthusiastic about the balloon twists frame from a couple of weeks ago so I created another one, in different shape and using a different color. Those balloons would be quite suitable for summer theme projects.
If you want a totally unique effect applied to your photos, this script is what you need.
As a sampler, I created a mask using the same brush tips but in a more generic shape since the script would otherwise run on a custom shape on your own photo. You can use this mask on any photo of your choice.
You can create slats at an angle, but it is tedious to measure all those pieces one by one.
Since this script allows you to create a mask out of the settings you chose, I did just that. I started with a large, 3000x3000 black image, and created a layered mask file. You just have to add your photo and that's it. If you find that the mask is way too large, resize it before adding the photo. You can even resize it without keeping the proportions if your photo is rectangular and you don't want it square.
Some cameras will automatically add a date on your photo and often, you might want to remove those dates to concentrate on the photo itself. However, in other situations, adding a date might be needed. If your camera took the photo while saving the EXIF information, this script will retrieve that date and add it on your photo. You get to choose whether you want the date on the left or the right of the photo and in which color.
As a sampler, I decided to play with a recent script, the Wooden Puzzle 2, to make you a Valentine theme puzzle. This is a .pspimage (so the file is fairly big) and each element is part of a group, so you can copy and paste it onto any other project, and since all the layers are unmerged, you can move the pieces around as you wish.
Do you sometimes want to use an accordion fold on an image or a roadmap? It is a fun way to display an image but it can be quite tedious to complete accurately. You need to measure, cut, skew, and align each piece correctly. In addition, there is also a matter of light and dark on each piece to make them consistent with the light source.
Since this script is applied directly to a photo that is yours, you likely would not care for a sample from my photos. So I decided to create a few straight ribbons in Halloween colors, and run them through the Knot #13 script. You now have 3 straight ribbons and 3 matching knots to embellish your own Halloween themed projects. What will it be?
Placing photos in a fanned display is not very difficult, but it can be tedious, especially if you have many photos. That is where this script comes in. It will automate every step, from opening the images, resizing them, copying and pasting them, rotating them correctly and aligning them precisely. In addition, the script can also add a white border and/or a drop shadow to each of the photos in the same run.
For a sampler, I was a bit unsure what to give you. Well, I used the display from the preview and I made a layered template for you. It is in .pspimage format and has mask groups so you can simply place the photos inside those groups and only the area within the frame will show through, even if your photo is larger than that "hole". That means you have no cutting or trimming to do with your photos.