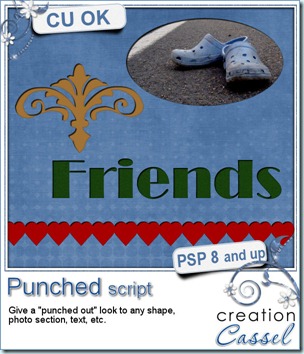
As i was looking at some paper scrap pages, i noticed that several of them used punched designs and it was giving that 3D look since the top paper was cut and you could see the other paper underneath through the hole. I figured i could replicate it in digital form using Paintshop Pro. It was easy. It might be something you can do manually, but i coded this script simply to make the process faster.
It is available exclusively in my personal store here.
As i was playing with the script, i used it on a single pattern, on a series of patterns to simulate a border, on a section of a photo, and on a word. I think it would look cool as a big title or even if you use it only on the first letter of the title. And what about using it on concentric circles (a smaller circle inside a larger one)?
The way the script is coded, it is somewhat of a “cheat” since the paper is not really punched as it looks. In fact, the punched look is attached to the shape itself, meaning that you can move the “hole” wherever you want. That means that you can change your mind as you are working on a layout, move the “hole” or even remove it completely and start over with a different shape or design. How neat is that?
 I also tried it on a photo and simply selected various rectangular shapes, and deleted the rest. I ran the script and it looked fun. I just added a plain color under the holes (yeah, as if you could do that in paper scrapping!) and i really like the effect. This was just me playing around, without any particular plan to use that on an actual layout, but i might do that on my next scrap page. What do you think?
Remember, this script is FREE, so go grab it in the store and tell your friends to come and grab it too!

 Although it is not available for purchase, it is available to win! Check out
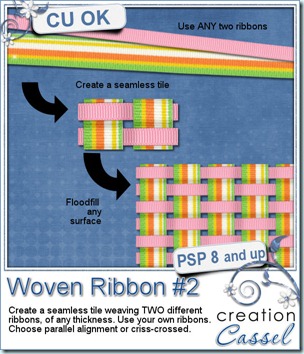
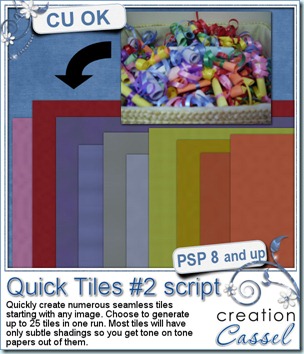
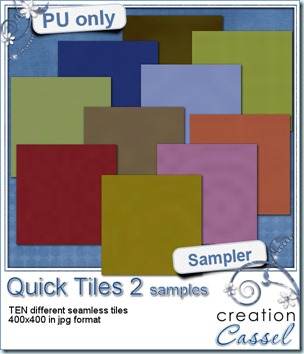
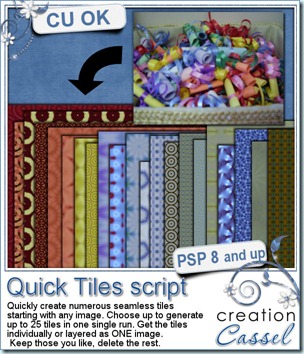
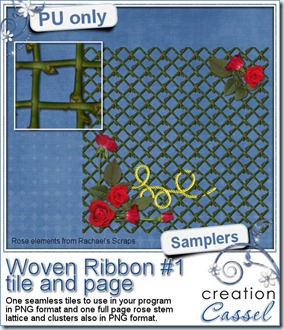
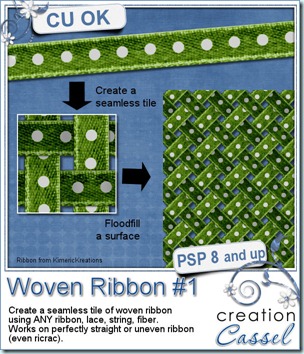
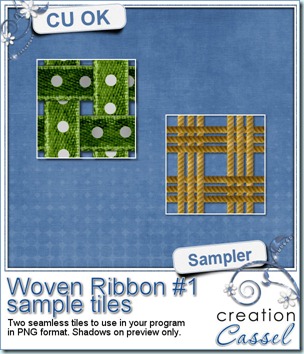
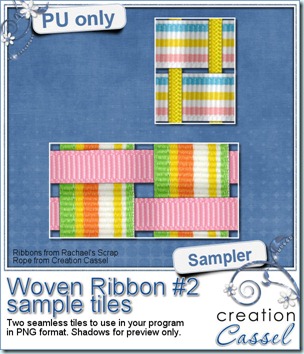 As a sample of what can be done with this script, i played around with some of Rachael’s ribbons (they are great by the way!) and a rope from my set of Rope tubes. I think the result is going to be pretty fun to play with. I am giving you two seamless tiles for you to create elements or backgrounds. To me, those colors would be very suitable for your summer layouts. Since the ribbons are not mine, these tiles can only be used for Personal use.

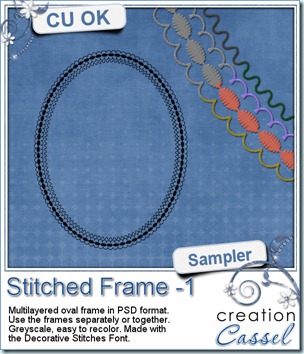 And now, as usual, you want to see my products in action. Since this week’s script is a tool and i cannot really give you a sample, i thought you might want to play with some frames. This is a layered frame (because it includes 4 individual layers) in PSD format. You can use each frame separately, or in combination. They were made using the
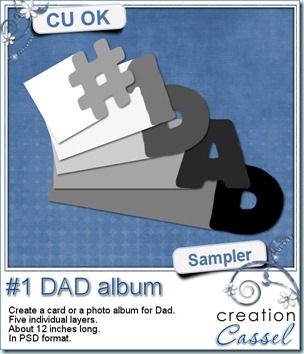 This weekend, it is Father’s Day on this side of the Atlantic. I dont know about other countries, in Europe or in Australia. But if it is not the time to celebrate Father’s Day, you can still get ready for next time you want to thank a man in your life for what he brought. This layered “album” can be used to create a hybrid photo album, or, if only printed, cut out and glued on cardboard, it can make a great card where all the children or other people touched by that special man can write good wishes, kids can stamp their hand or doodle for a great memorabilia. The album is about 12 inches long on separate layers (you surely can resize if you want a smaller version).
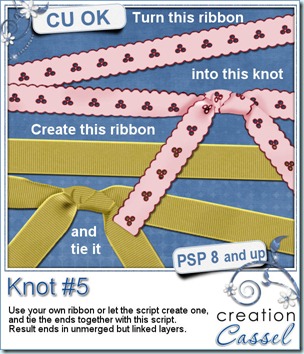
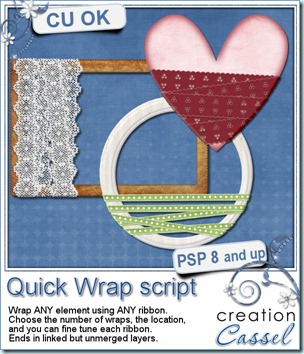
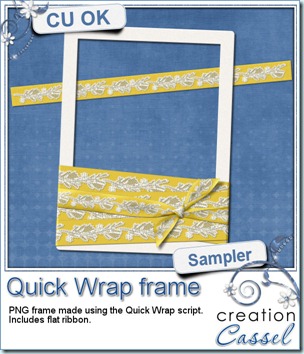 As usual, you surely want to have a closer look at what the script can do. So, as usual, i have a sampler for you. I created this wrapped frame from scratch. The ribbon uses a lace from Buzy Bee Scrap (i cannot find a valid link for her blog for now so if you have one, please, let me know). Not only the wraps were made using the Quick Wrap script, but i also added, manually, one piece made using the Knot #3 script.