Sometimes, for the holidays, you need a little delicate touch. These charms are just what you need.
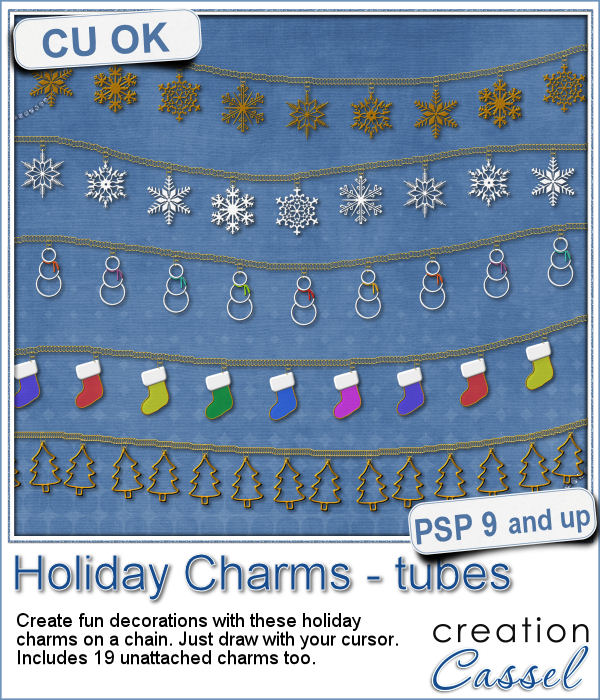
These are picture tubes will allow you to draw the chain however you want, and the charms will be evenly spaced along that chain.
Use the settings that come with the picture tubes for an even spacing, but if you want to be a bit wild, you can change the selection mode to Random, and that will place the charms in a random spacing and random order too.
You get a set of golden trees, golden snowflakes, white snowflakes, coloured snowmen, and coloured stockings.
Get these tubes in the store: Holiday Charms
For a chance to win this set of tubes, tell me what other shapes you would like to have as charms. I will announce the winner in the newsletter, next week. Not a subscriber yet? Not a problem. You can register here and it is free (and you only get one email per week). There will also be an additional surprise for winner as their wish will come true and i'll create a set of charms in that shape. And EVERYONE who will comment will get it. So you better add your suggestion!
For the sample, this week, I created a double swag with the white snowflakes.
The element is 3300 pixels wide and in png format so it can be used with other programs if you want a chance to look closely at those elements.
You need to be logged in to download this sample. You can either login, or register on the top of this page.

Adding holiday decorations is always fun, and even better when you do it digitally.
This week, for a sampler, I used several products from the store to create a decorated wooden window. I used the Wooden Window script, the Christmas lights and the Christmas strings.
How about adding some Christmas lights to your project?
As a sampler, I created several oval frames using 5 monochrome sets and one multicolored set.
You can now create a fun title or text using individual stamps that will display letters, digits, abbreviations or words.
How about a way to date all the photos and pages you will be doing in December?
As a child, you likely have played with playdough (or plasticine). You must have created textures, poked your finger in it, rolled it to make snakes and used cookie cutters to create various shapes.
For a sampler, I created a "hand drawn" alphabet for you. I used three fall colors.
If you are creating kits, you will want to use this script to create a variety of labels in just a few seconds. Keep the ones that you like, and discard the others.
As a sampler, I ran the script using 5 papers from the kit Enchanted Autumn from Marisa Lerin. This set includes 15 different labels, ranging in size between 600 and 1000 pixels. Some are round, some are oval, some are square and some are rectangular.
Have you ever wished to see your name in big neon letters on a marquis? Now, you can get exactly what you wished for.
As a sampler, this week, I created a few elements on the Halloween theme. I just found some shapes, and chose to create a simple outline.
Have you ever wanted to create a wordart with half of the text in negative from the rest? It is not too hard to do manually, but it requires accuracy. And then, if you want to create a series, it is longer.
How about a way to date your layouts? Whether you are making a Project Life album, or you just want a fun way to identify when those pictures were taken, here are some split months. Each one is about 420 pixels in height, and the width will depend on the text.
Who has too many doilies? In the last few weeks, you got scripts to help you create circular and square doilies, but with a bit of math, I managed to code a script to allow for doilies that have different sizes in height and length. That is really adding another level of flexibility for your projects.
This week, i made three rectangular doilies, and i am offering them to you. They are all in png format so you can use them with other programs than Paintshop Pro. You can also colorize them if you want. The shadows are only for the preview. There is a slight bevel only.
The last script that was made available to you was to help you create round laser cut doilies, but what if you want them square? With a bit of coding, I am bringing this to you. It will use a similar process to create the rounded corners, but you will also have the option to modify the design for the straight edges, either by adding more cutouts or removing some. This will allow you to have some unique designs along the straight edges, if you want.
Just like last week, i had fun creating those samples. I experimented with various designs and although a few didn't turn out too great, most of them were really pretty. That is why i am offering them to you.