What do you do with your ribbons? Did you ever think of cutting some random pieces and place them into a flower shape? This is a fun twist to using ribbons, but it can be a bit tedious. That is, if you do it all manually. This new script for Paintshop Pro will let you create such a flower in less than one minute. This is a perfect tool to create an additional element for your kit, or to embellish your layout. Use ANY ribbon you have on hand, of any size, in any number. The script will randomly choose one ribbon at the time, and trim a piece of a random length and shape. Each flower can have a different number of pieces too. Basically, you can run this script hundreds of times and always get a different result.
The script will also allow you to add shadows to all the pieces if you want, and with the settings you want. And if you want even more choices, the script will give you the option to keep creating new flowers with the same ribbons, over and over again. Create 1 flower, or 10, or 50. Finish with your choice of fastener: staples, buttons, paperclips, stitching, etc.
You can get this fun script in either of my store: Creation Cassel .
 But i am sure you would like to have this script for free, right? You have this option if you add your name to this thread in the DST forum. I will be back on Monday with a winner.
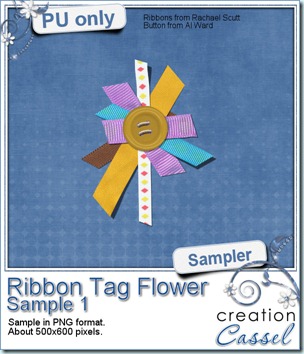
As usual, i will also give you the option to download a sample of what this script can do. In fact, i will give you the option to grab more than one sampler.
You need to be logged in to download this sample. You can either login, or register on the top of this page.
This flower is fairly small, as it is about 500 pixels in size.
But here is the novelty: there is a second download available for you, which includes 3 full size ribbon flowers. They are much larger so you can adjust the size to fit your need. However, this one has a little twist to it: you have to pay with a tweet or a Facebook post to get it. Not too demanding? Check it out here:
News from the Campus
Did you register for the Webinar for last week? Did you miss it? I know in our area, we had to turn the clocks back one hour to go from Daylight Saving time to Normal time, and that seemed to have affected several participants who might or might not have the time change. After several requests and inquiries from registrants who missed it, i decided to present the webinar a second time, and this will be held this Saturday (yes, tomorrow). It will also be held at a different time to allow our Aussie friends to join (last time, they were likely all asleep). So, don’t delay. See what you will be able to do afterward.

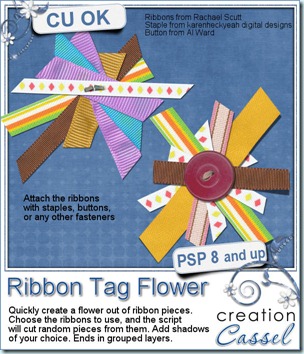
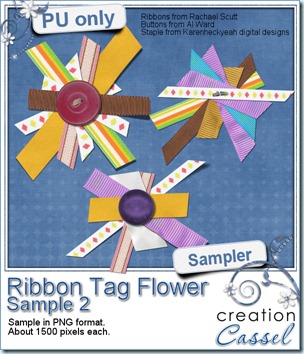



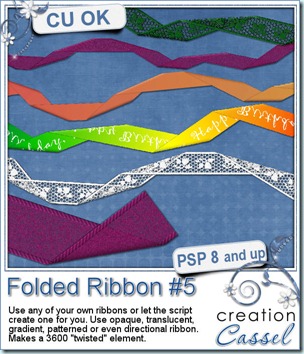
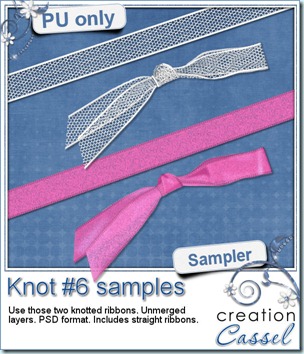
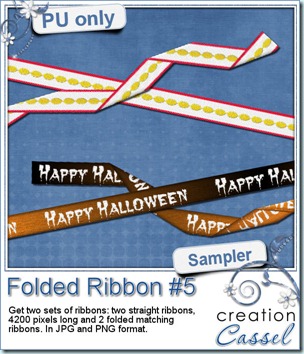 And for a closer look at the result of this script, i created 2 ribbons from scratch (so they are 100% original) and ran the script on them. You get both the straight version and the folded version of both. That means you can use them separately, together or even run another script on the straight ribbon. Remember that there are many other scripts in the store that could be used with a straight ribbon of yours!
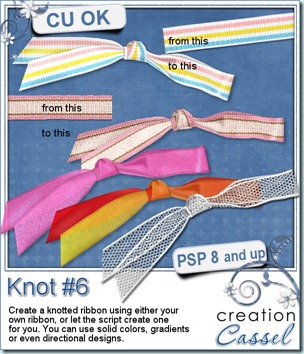
 And how about a chance to “tie the knot” for free? Everyone loves free stuff and i am sure you would love to get this script for free. Then, hop over to the DigishopTalk forum in this
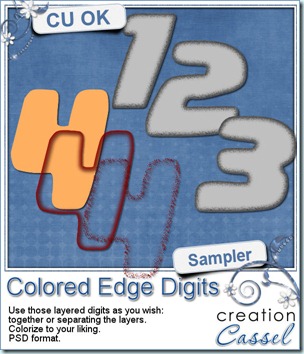 I know, you also want to have a peek at the result of this script by downloading a free sample, right? Well, I cannot disappoint you, can I? So here is your sampler. It is a set of digits in greyscale, layered in PSD format. You can easily recolor each layer separately, merge them or use them separately too. This set is CU.

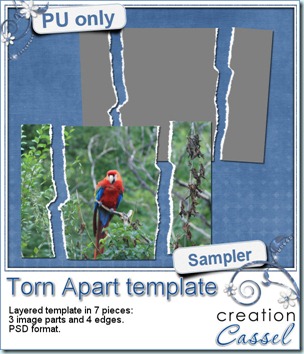 And here is your free sample. This is a layered template in PSD format. It consists of 3 “paper” pieces that will match perfectly, and 4 “edge” pieces. You can adjust the “edge” pieces to match any paper color, and the “paper” pieces are just like a puzzle and you can cut out your paper or photo using the magic wand. The “paper” piece layers are linked to the matching “edge” piece layers so you can move them around together, however, to help you with the “photo” part, all the “edge” pieces are below the “paper” pieces so you will have to rearrange the layers order when you decide to merge them.
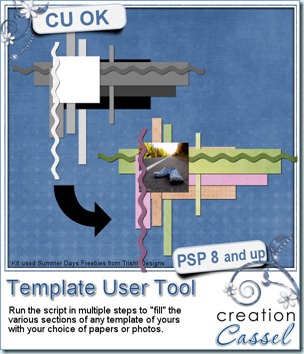
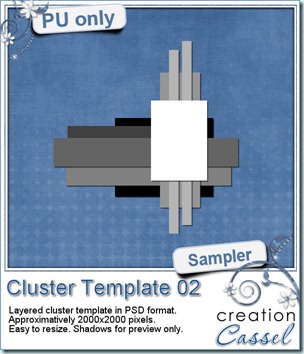 As usual, i have a free sample for you. Since this script is a tool to use with your own templates, i could not run it and give you the end result, but i could run the script from last week, and let you have another clustered template in PSD format.
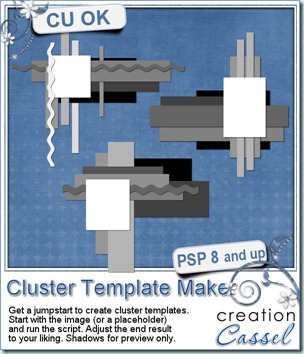
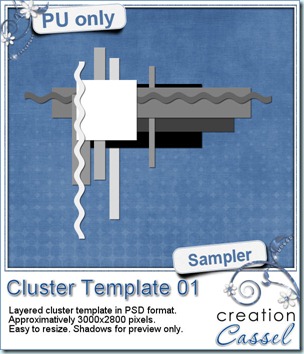 As usual, you want to get a freebie, right? Fair enough. I created this layered cluster template with the script. I added shadows to the preview only, since there is a chance you might want to change some layers and then, the shadows might not work. It is a PSD format, so most of you should be able to open it, and use it. If you DO use it, would you mind showing me how it turns out? I would love to see how different scrappers will turn this ONE template into many unique results.