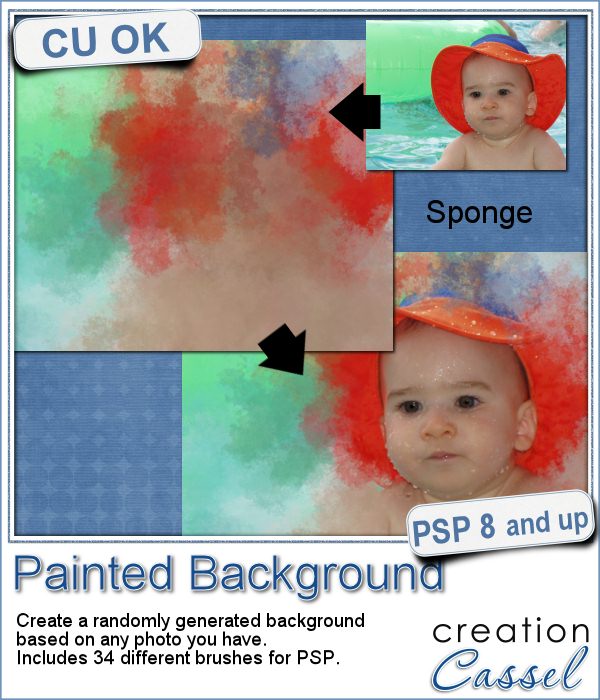
 Linda asked me recently if i could create a script that would generate a painted background from an image. Of course, one can always use the Brush Strokes effect in Paintshop Pro, but sometimes, we only want an abstract background based on the colors of a particular image we like. It can obviously be hard to find a perfect match unless we create it ourselves.
That is where this script comes from. Using a variety of brushes, the script will use the colors of the image and add colors on a separate layer, all randomly, for a different result every time.
You can choose what kind of "brush stroke" you want (whether it is a sponge effect, a dry or wet brush effect, a palette knife or an airbrush effect).
And you can also use that new background to showcase an element of the photo that you have extracted, by using blend modes, or other type of techniques.
Grab this fun script: Painted Background
Since this script can create a full size paper (if you want), you would also have the option to use that paper for other purposes than just a background (even though those backgrounds will be stunning). What other use can you think for those papers? Give me a suggestion in the comments below. Not a subscriber yet? Not a problem. You can register here and it is free (and you only get one email per week).
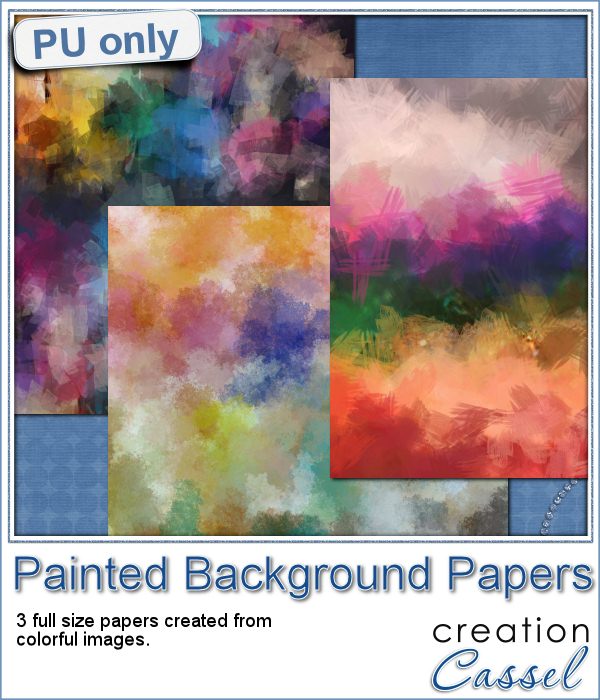 This week, i picked a few very colorful images on Morguefiles and turned 3 of them into full size papers. Do you have a fun, happy project you want to showcase? You can use those background papers as a base for showcasing your photos. You can also use those papers in other ways (or use them with other scripts!).
You can add some blur, add texture, play with the adjustment layers, even blend them with something else. You can surely find more creative ways to use those colorful papers.
You need to be logged in to download this sample. You can either login, or register on the top of this page.
News from the Campus
 Can you create your own sticker out of any image you have? Sure you can. Use any png image (even if you extracted Uncle Jim from a photo) to turn them into custom stickers. And also, have a peek how you can make that sticker look like it is curling up a bit.