 You can simulate the old method of fastening photos in albums but without actually cutting the background.
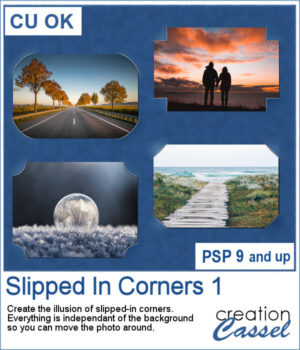
This script will use a duplicate of the active layer (where you have your photo) and will create an effect similar to slipped-in corners. You get four options for the shape of the cutout. The end result will not cut anything from the background so you will be able to move the photo wherever you want on your project.
Get it in the store: Slipped In Corners 1
To win this script, add a comment on this Facebook post telling us if you ever created that effect, manually, on your photos (remember, add a comment, not just a Like!) The winner will be announced in the newsletter, next week. Not a subscriber yet? Not a problem. You can register here and it is free (and you only get one email per week).
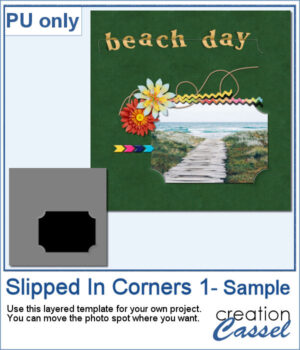 As a sampler, I used the dimensions of a standard 7x5 photo, and ran the script on a black rectangle. The script treated the rectangle as a photo, and now, you can replace the rectangle by your own photo. Convert it to a mask if you want, but you can also just trim it. More interesting for you, you can move the linked layers to place the photo somewhere else on the page. Build the rest of the page as you wish with papers under it and elements on top.
You need to be logged in to download this sample. You can either login, or register on the top of this page.
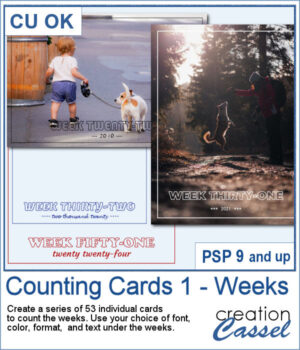 Whether you are doing a "Project 52" or just want to showcase your photos, sometimes, it can be fun to have an overlay to show the week and year of that particular photo.
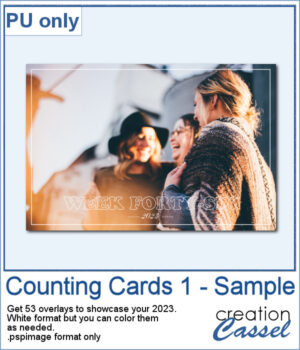 As a sampler, I created a whole set of raster overlays for you to showcase the year 2023. All the layers are in white, but you know that you can change that easily, right? The format is 6x4, which is fairly standard for printing, but also if you are doing pocket scrapbooking.
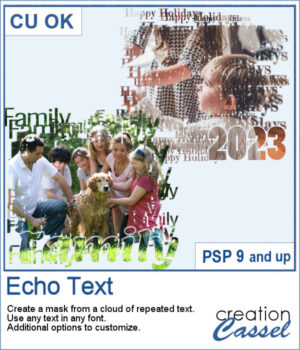 You can showcase your favorite photo with a custom mask based on the text of your choice. You can choose any text, in any font. You can finish the script by editing the original text to something different if you want. You can move that text where you want on the project, whether it is on top, on the bottom, or in the plain center.
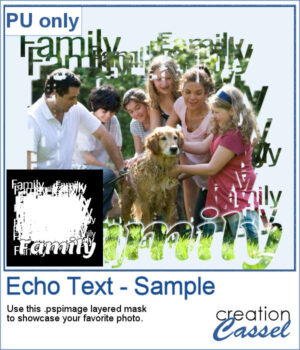 For a sample, I ran the script starting with the word "Family" in a fairly thin font, but finished it with a thicker version of the same name, placed at the bottom. This allows you to showcase your photo without interruptions in the middle.
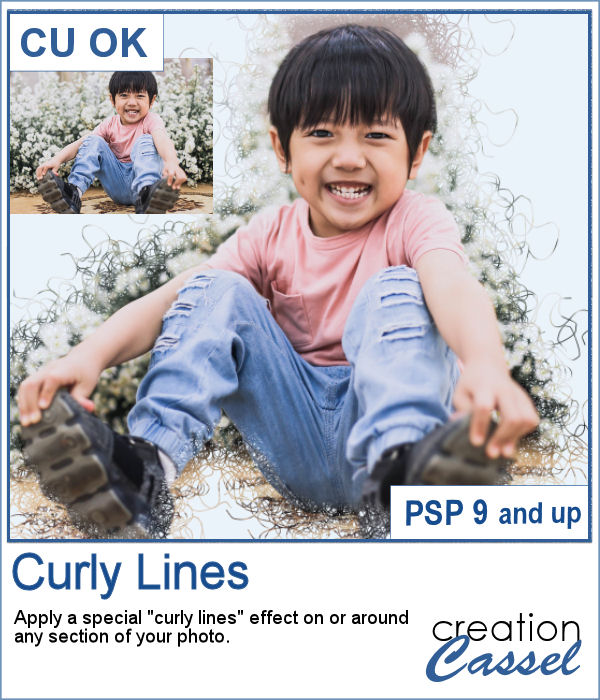 With this script, you will get some custom masks to showcase sections of your photo. You can either keep a section intact or convert that section to a series of curly lines.
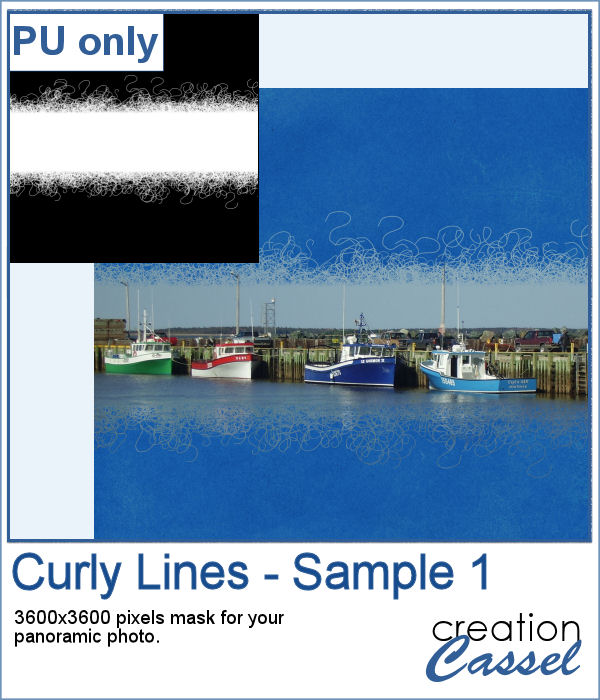 As a sample, I ran the script on a black image, and selected the central area to create the mask. The result is a simple jpg mask that you can use to showcase a panoramic photo, or simply focus on a horizontal section of a non-panoramic photo.
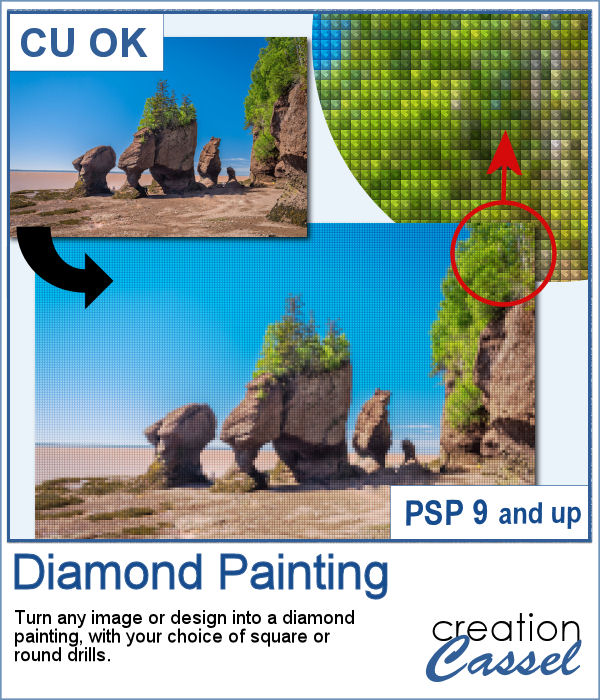 Diamond painting offers a way to turn an "ordinary" image into something magical and shimmering. It is a long and tedious process.
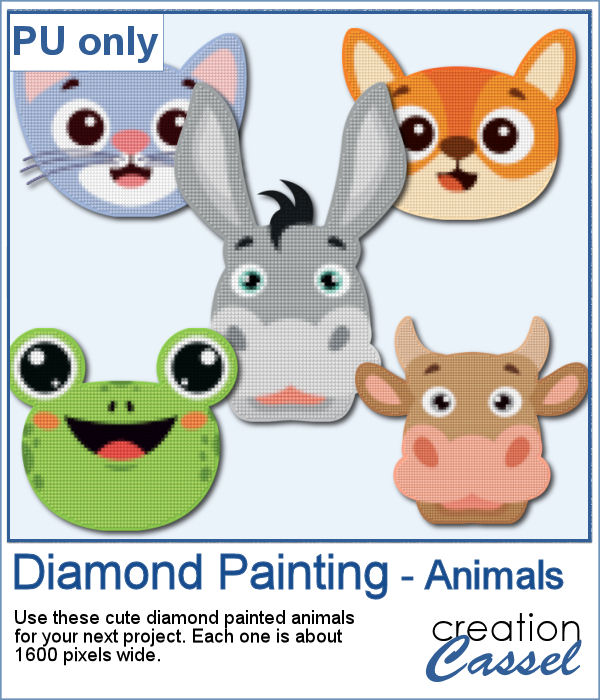 For a freebie, I used some cute animal cliparts and converted them into diamond paintings. Each one is fairly large so you can size them down as needed.
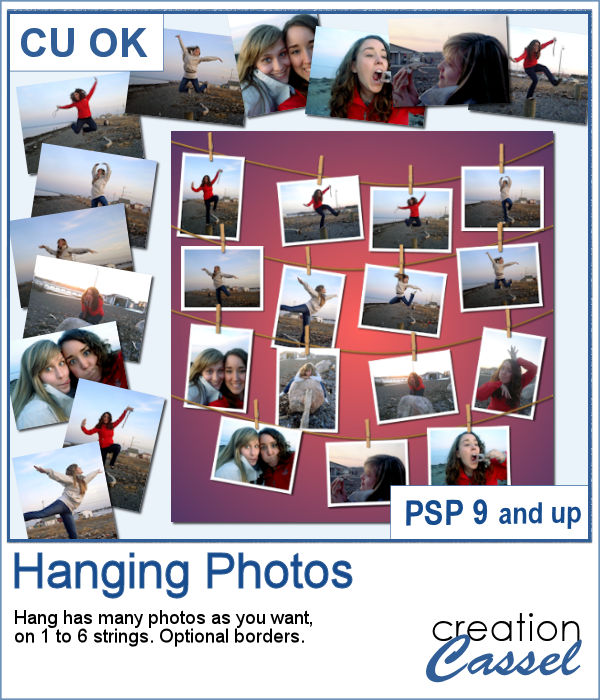 You might have a lot of photos to display and you want them showcased in a different way. How about hanging them all on a line?
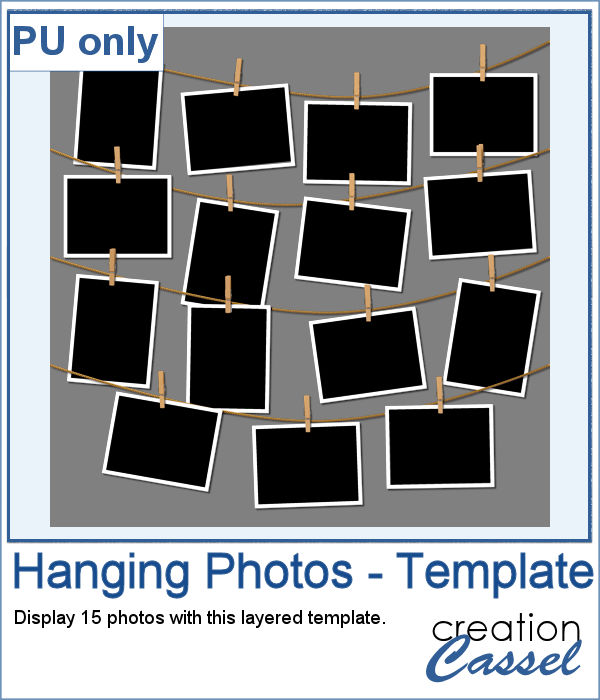 As a sampler (since you likely don't care about MY photos), I converted one page with 15 photos into a layered template. Although you cannot move the photos like you would be able to with the actual script, you can still adjust what photo you want to display on each group.
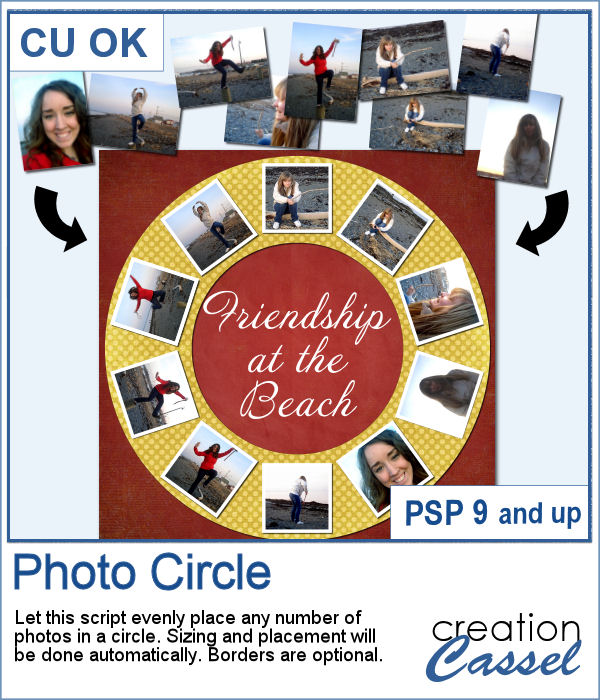 Placing photos in a perfect circle is an interesting way to display them, but it can be very tedious to take care of resizing each photo to the correct dimension for their number, then spacing them, aligning them and rotating them perfectly to form that circle.
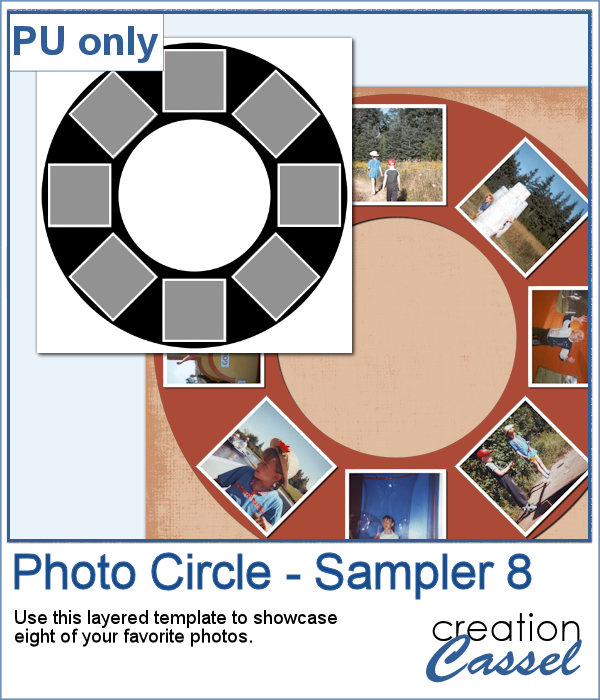 As a sample, I ran the script with 8 photos and simply replaced the photos with grey squares (you don`t need to have my photos, do you?). Everything is left in unmerged layers so you can change the color of the borders if you want. You can insert your photos inside the mask groups. You can add various papers or elements to decorate the page.
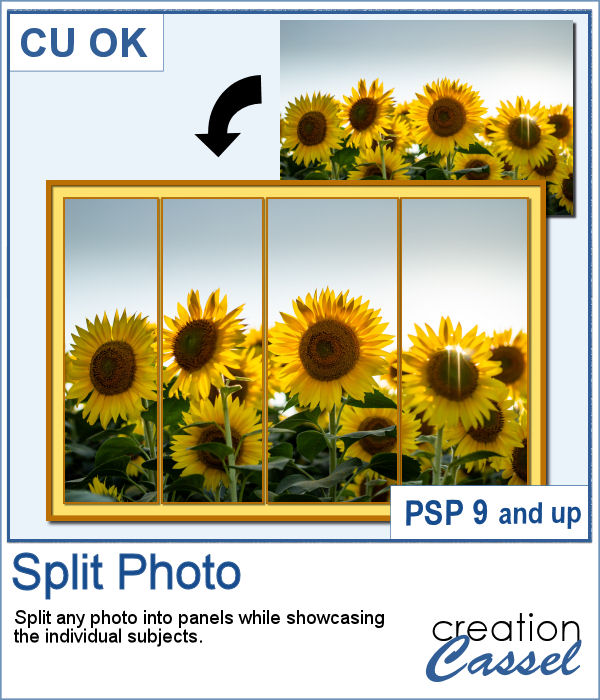 Various templates exist to create diptychs and triptychs but using something standard might just not suit your photo as you might end up with a face cut in the middle or some other subjects not being really well showcased. This script will allow you to select the subjects to showcase and it will do all the calculations to split the photo between those areas you will determine.
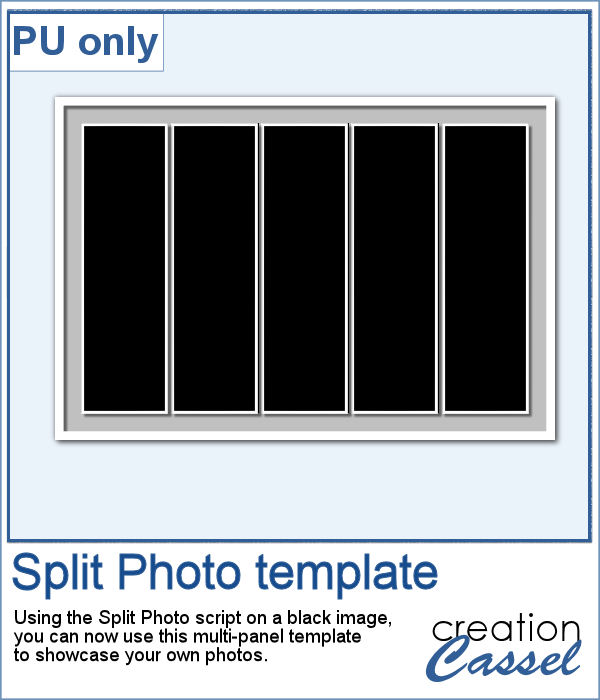 As a sample, I created a split photo starting with a simple black image, which turns into a template that you can use with your own photo. You can change the color of the borders and the background if you want too.
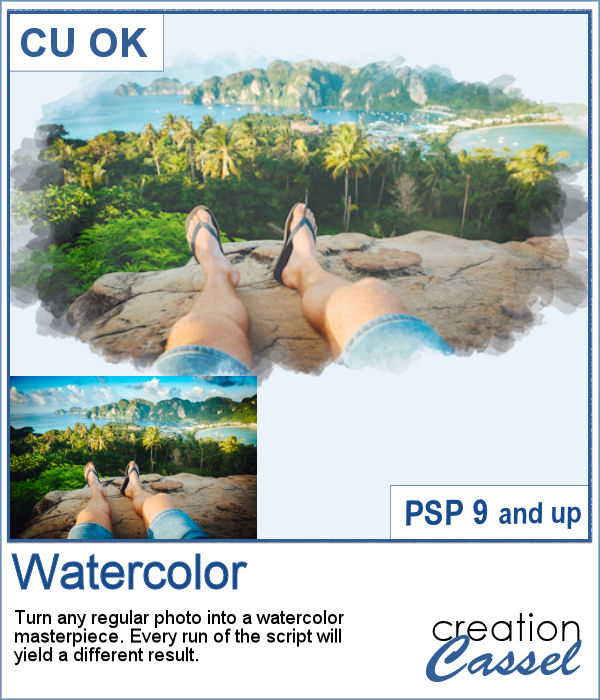 Watercolor can be a great way to showcase a landscape, a location or anything else, but like any tangible medium, it could be messy.
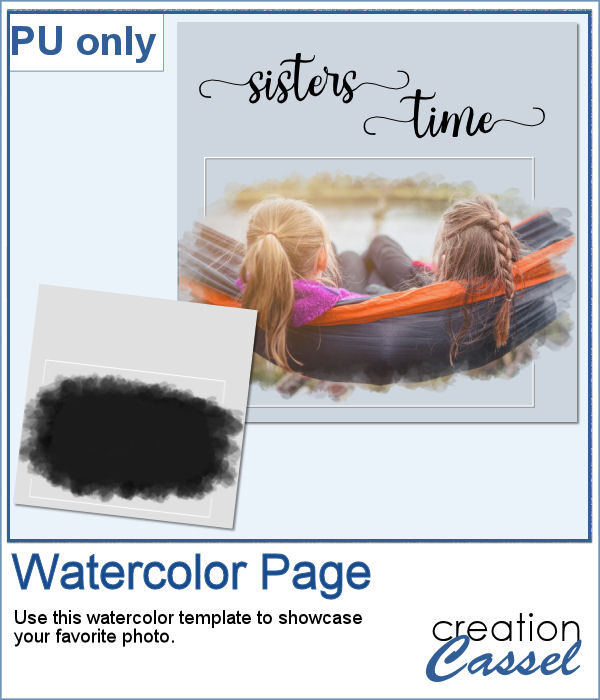 As a sample, I created a simple page that uses the same mask as on the main preview. Of course, you would have to add the watercolor effect on the image to get the colors you want but this mask will give that look on the edges without any work.
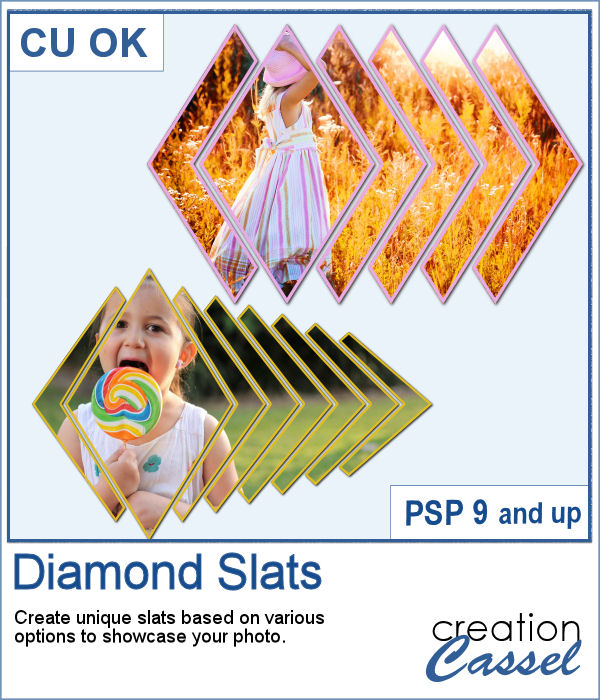 Diamond shapes will convey an impression of dynamism so using diamond-shaped slats to showcase your photos will give them a new angle.
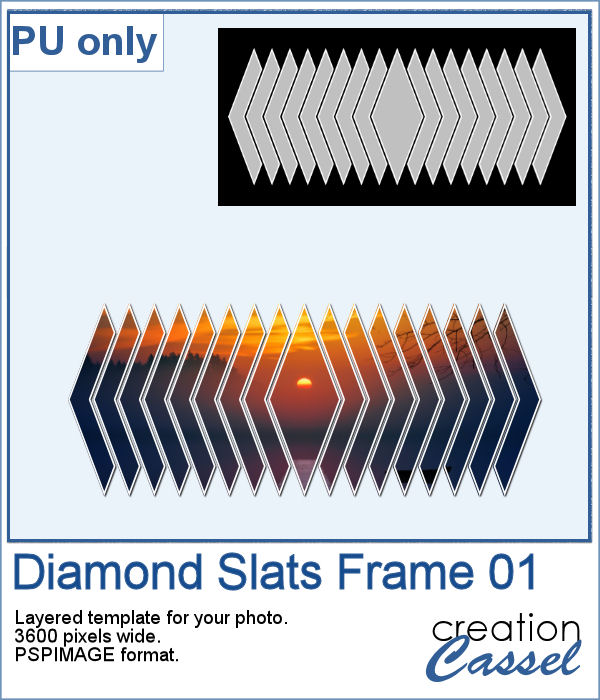 For a sampler, I created this layered template for you to showcase your photo in the middle. The template is 3600 pixels wide and in pspimage format for PaintShop Pro users.